sudo firewall-cmd --permanent --zone=public --add-service=http
sudo firewall-cmd --permanent --zone=public --add-service=https
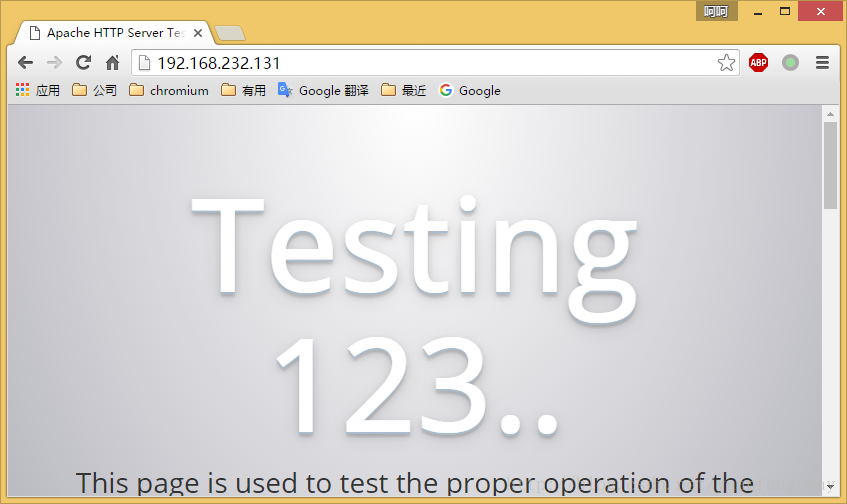
sudo firewall-cmd --reload此次可以正常访问了:
假如想之后重启服务器然后手动启动Apache服务器,可以运行以下命令:
sudo systemctl enable httpd.serviceApache服务器的网站文件默认在/var/www目录。
3.安装Mysql(MariaDB)数据库
运行以下命令安装MariaDB数据库:
sudo yum install mariadb-server mariadb完成以后启动数据库:
sudo systemctl start mariad
之后安装一个数据库安全脚本centos命令行打开网页,除去一些危险的默认设置:
sudo mysql_secure_installation之后会提示你输入数据库的root帐号密码linux课程,倘若是新安装的则输入空格,如下所示:
In order to log into MariaDB to secure it, we'll need the current
password for the root user.  If you've just installed MariaDB, and
you haven't set the root password yet, the password will be blank,
so you should just press enter here.
Enter current password for root (enter for none):
之后我们输入空格,继续设置root密码:
Setting the root password ensures that nobody can log into the MariaDB
root user without the proper authorisation.
Set root password? [Y/n] Y
New password:
Re-enter new password:
Password updated successfully!
Reloading privilege tables..
 ... Success!
By default, a MariaDB installation has an anonymous user, allowing anyone
to log into MariaDB without having to have a user account created for
them.  This is intended only for testing, and to make the installation
go a bit smoother.  You should remove them before moving into a
production environment.
Remove anonymous users? [Y/n]
 ... Success!
Normally, root should only be allowed to connect from 'localhost'.  This
ensures that someone cannot guess at the root password from the network.
Disallow root login remotely? [Y/n]
 ... Success!
By default, MariaDB comes with a database named 'test' that anyone can
access.  This is also intended only for testing, and should be removed
before moving into a production environment.
Remove test database and access to it? [Y/n]
 - Dropping test database...
 ... Success!
 - Removing privileges on test database...
 ... Success!
Reloading the privilege tables will ensure that all changes made so far
will take effect immediately.
Reload privilege tables now? [Y/n]
 ... Success!
Cleaning up...
All done!  If you've completed all of the above steps, your MariaDB
installation should now be secure.
Thanks for using MariaDB!
同样的,设置开机手动启动MariaDB数据库:
sudo systemctl enable mariadb.service4.安装PHP
运行以下命令安装PHP:
sudo yum install php php-mysql安装完成,重启以下Apache服务器:
sudo systemctl restart httpd.servicePHP安全完成以后,我们可以在网站目录下边构建一个info.php的文件来查看php的安装情况我们在/var/www/html目录创建一个info.php的文件:
sudo vi /var/www/html/info.php其info.php内容如下:
<?php phpinfo(); ?>我们我们安装PHP成功,浏览器打开将会看见以下内容:

5.安装phpMyAdmin
phpMyAdmin是个管理MariaDB数据库的Web界面程序linux中文乱码,我喜欢装一个。
我们首先安装EPEL库,这个库提供好多额外的软件包:
sudo yum install epel-release完成以后直接安装phpMyAdmin:
sudo yum install phpmyadmin完成以后,我们设置phpMyAdmin的httpd设置/etc/httpd/conf.d/phpMyAdmin.conf:
Alias /phpMyAdmin /usr/share/phpMyAdmin
Alias /phpmyadmin /usr/share/phpMyAdmin

   AddDefaultCharset UTF-8

     # Apache 2.4

       Require ip 127.0.0.1
       Require ip ::1


     # Apache 2.2
     Order Deny,Allow
     Deny from All
     Allow from 127.0.0.1
     Allow from ::1
从配置中可以看出,可以用去访问phpMyAdmin。实际上我们在浏览里打开这个地址是403Forbiddencentos命令行打开网页,这是由于还有权限控制,我们修改一下权限:
   AddDefaultCharset UTF-8

     # Apache 2.4

       #Require ip 127.0.0.1
       #Require ip ::1
        Require all granted


     # Apache 2.2
     Order Deny,Allow
    # Deny from All
    # Allow from 127.0.0.1
    # Allow from ::1
      Allow from All
之后再重启以下Apache服务器:
sudo systemctl restart httpd.service在浏览器输入,可以看见:
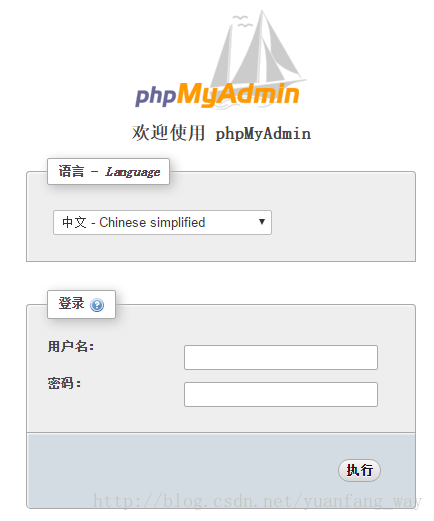
之后可以使用数据的root密码登入了。
6.安装Wordpress6.1创建数据库
我们先要创建Wordpress的数据库:
#登录数据库
mysql -u root -p
#创建数据库
CREATE DATABASE wordpress;
#创建数据库用户和密码
CREATE USER wordpressuser@localhost IDENTIFIED BY 'wordress_password';
#设置wordpressuser访问wordpress数据库权限
GRANT ALL PRIVILEGES ON wordpress.* TO wordpressuser@localhost IDENTIFIED BY 'wordress_password';
#刷新数据库设置
FLUSH PRIVILEGES;
#退出数据库
exit
6.2安装Wordpress
我们先下载wordpress安装包:
cd ~
wget http://wordpress.org/latest.tar.gz之后解压下来,拷贝到/var/www/html/wordpress目录:
# 解压wordpress
tar xzvf latest.tar.gz
# 拷贝到/var/www/html/wordpress目录
sudo rsync -avP ~/wordpress/ /var/www/html/wordpress/
之后编辑wp-config.php文件:
# 切换到wordpress目录
cd /var/www/html/wordpress
# 复制wp-config.php文件
cp wp-config-sample.php wp-config.php
# 编辑wp-config.php文件
sudo vim wp-config.php
之后在配置文件里设置正确的值:
// ** MySQL settings - You can get this info from your web host ** //
/** The name of the database for WordPress */
define('DB_NAME', 'database_name_here');
/** MySQL database username */
define('DB_USER', 'username_here');
/** MySQL database password */
define('DB_PASSWORD', 'password_here');
/** MySQL hostname */
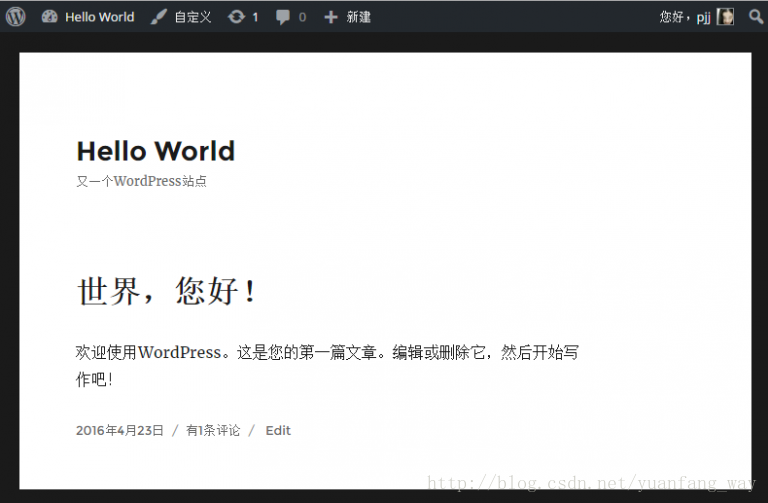
define('DB_HOST', 'localhost');根据提示创建好博客,显示如下:
7.作者介绍
梁明远,国防交大并行与分布式估算国家重点实验室(PDL)应届研究生,14年入学伊始便开始接触docker,打算在余下的读研时间在docker相关开源社区贡献自己的代码,结业后打算继续从事该方面研究。邮箱:
8.参考文献
转发自: